I teach “Art in Children’s Literature” at our homeschool co-op, for students age 6-8. I’m sick this week and was working out instructions for this project to give to my sub, when I thought, “Why not just post them for others?” So here we go!
This week’s book to read-aloud is A Color of His Own by Leo Lionni.
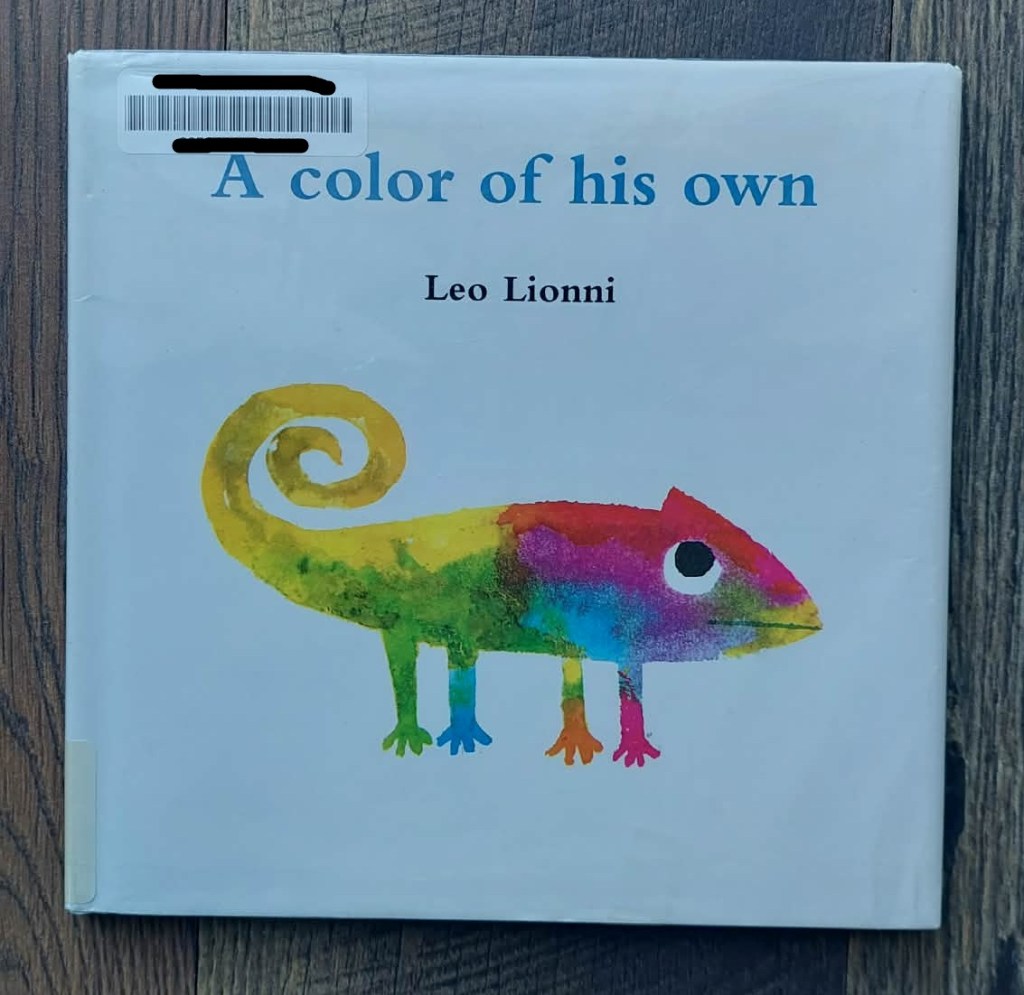
I don’t know why I don’t own this book, because I’ve done this project so many times! So I just requested it from one of my local libraries, along with a few other titles by Leo Lionni.
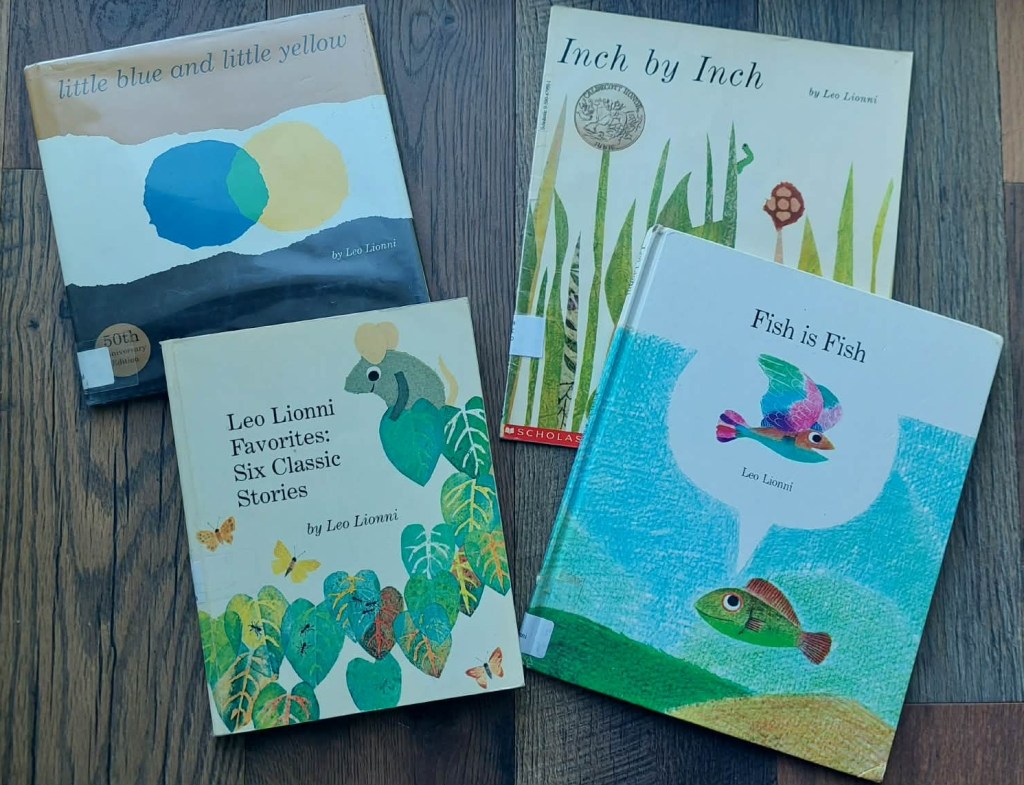
Honestly, A Color of His Own is my favorite Lionni book. My second favorite would be Swimmy, which is also another fun book to make a class project from. Swimmy is found in the six-story collection book if you have time to read a second story. Some of his illustrations appear to be mosaic, some look like paint stamp & print, and some are colored pencil.
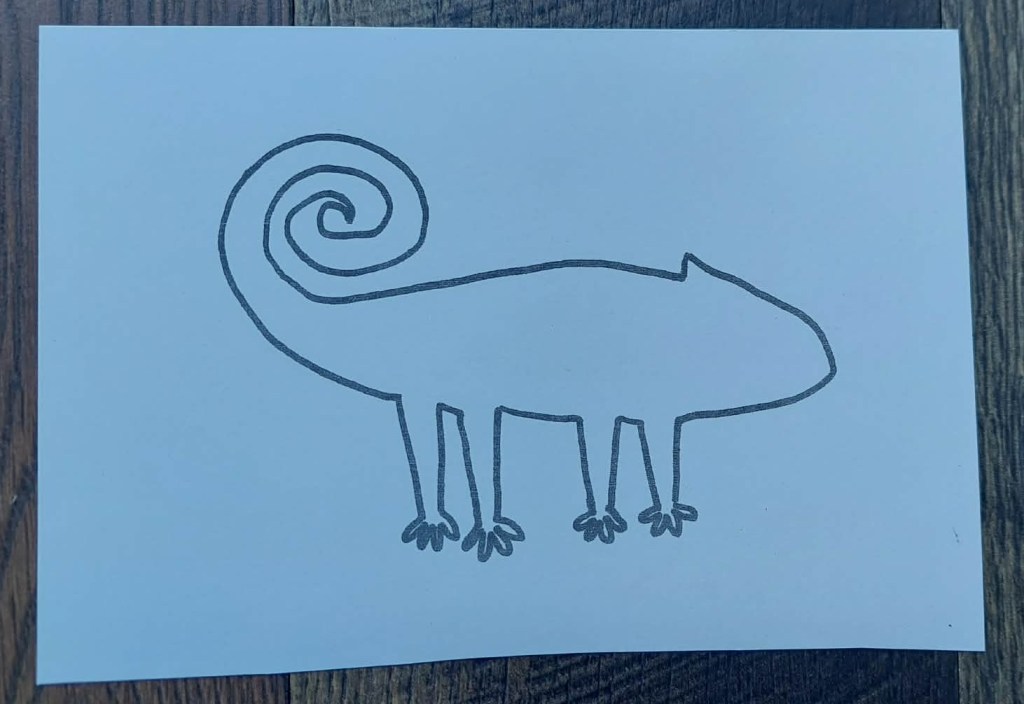
After reading A Color of His Own aloud, each student will be given a cardstock version of the chameleon, and asked to THINK about where their chameleon is going to live, or what setting they are going to place him in.
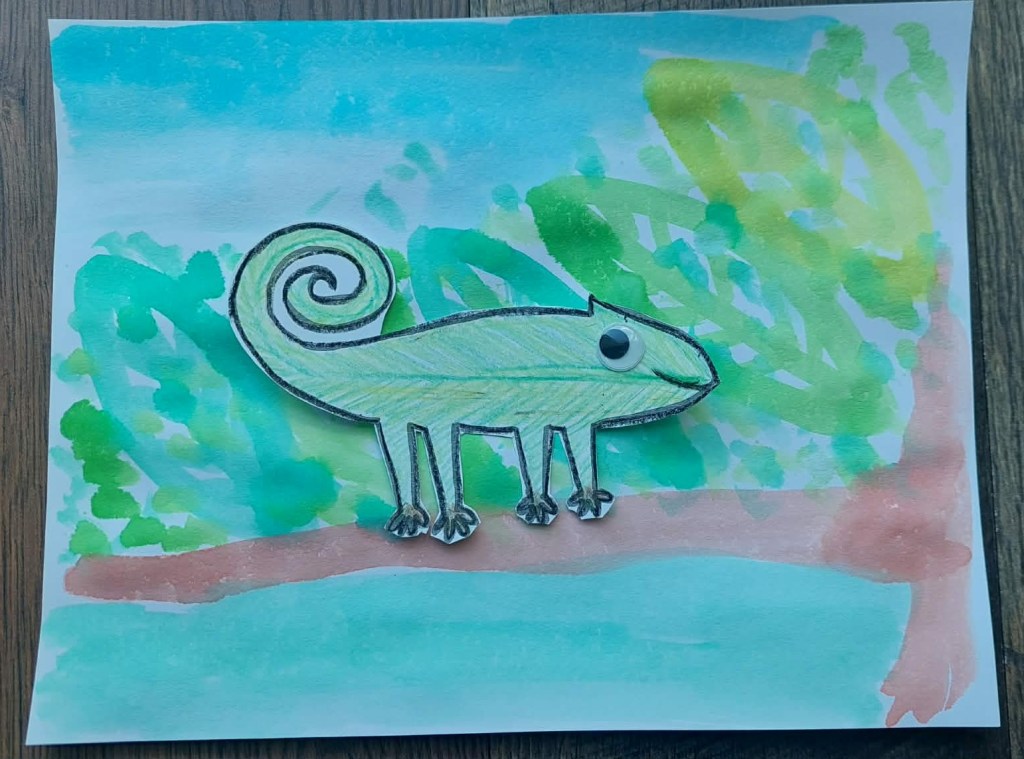
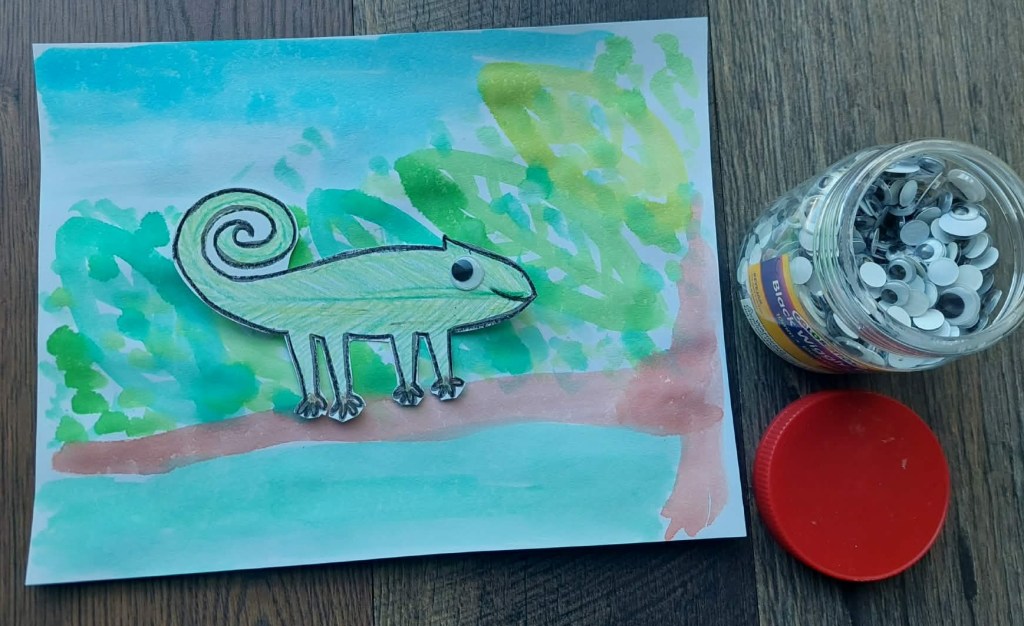
I decided that my chameleon is going to be in a tree, sitting on a branch.
So, using crayons, the students need to color their chameleon how they think he should be colored in order to blend in with the surrounding they want to place him in.
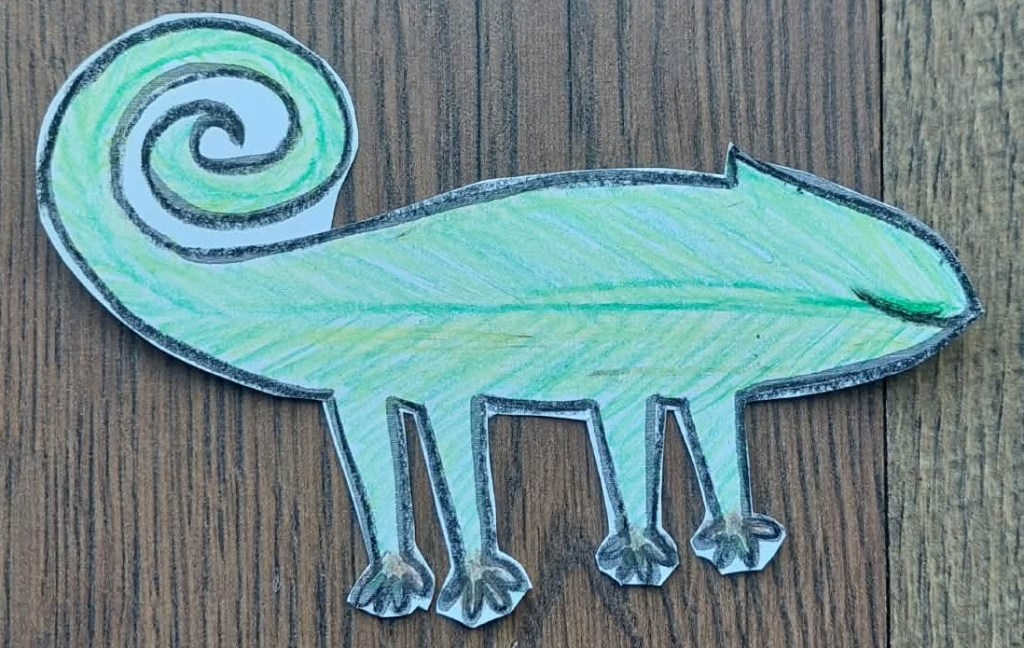
I colored mine like a leaf, and gave him brown feet for standing on a branch. He will need a mouth also. They can draw an eye or add a googly eye.
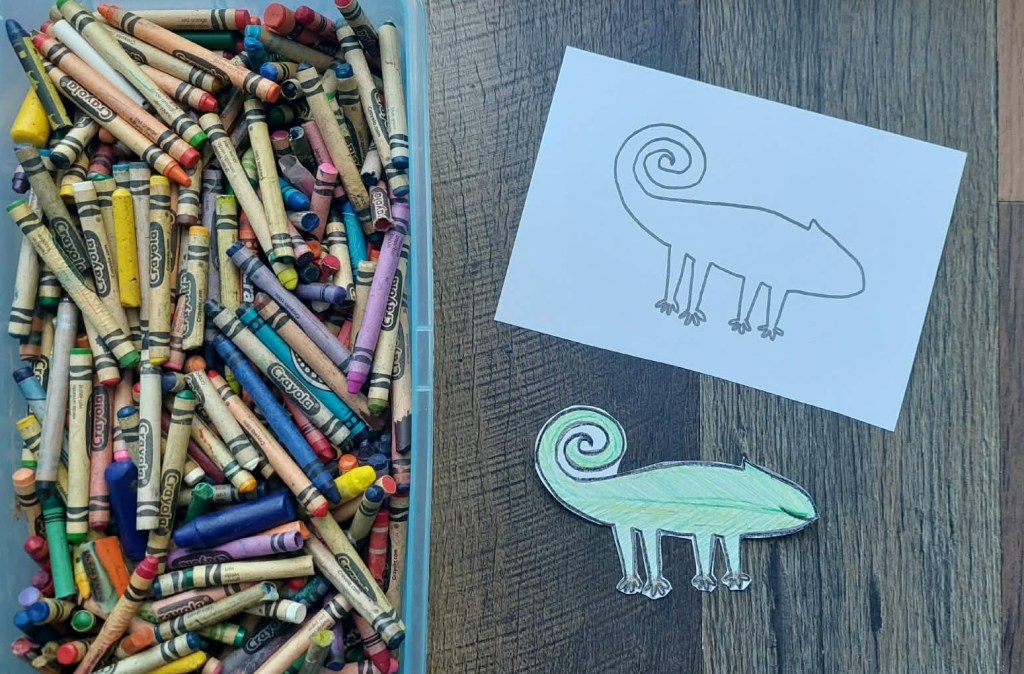
Next, we are attempting to cut out our chameleons with scissors. Some of them may need help. I also keep tape in the box incase anyone cuts off a leg or anything. Please note: they do NOT need to cut the tail completely out around the swirly and they do NOT need to cut out the toes. They can leave the white paper between the legs if they need to as well.
Also – we do have some students in this class that may want to draw their own chameleon and not use the printed outline. That’s OK. It’s their art. 🙂
Make sure everyone’s name is on the back of their chameleon at this point.
Next, they will watercolor their background paper cardstock! Write names on the back of the paper first! I always forget this step!
Please remind them to wet the paint first, not to double dip into multiple colors, and that watercolor brushes should not be heard scrapping across the paper or squished out like a fan! Thank you! (and yes, they will probably do these things anyway)
Since my chameleon is living in a tree, standing on a branch, I started with a branch, then made some very simple leaf shapes and lots of dots of green all over the area. I filled in a little blue sky and green under the branch as well.
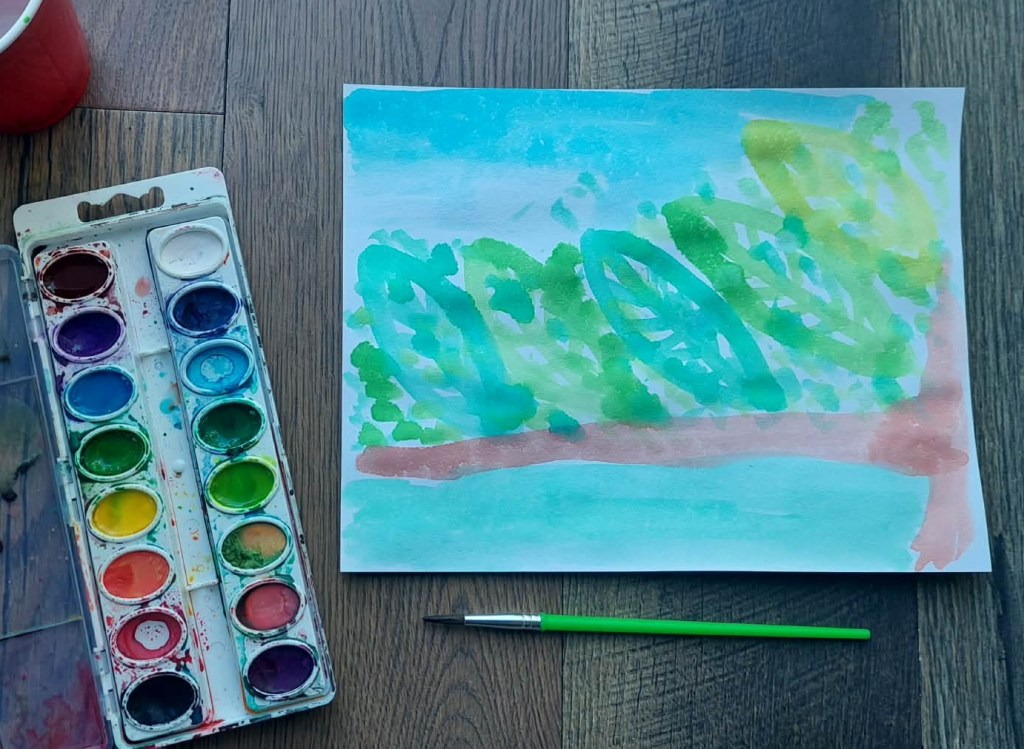
This does not have to be a masterpiece, just an approximation of the chameleon’s environment. The chameleon is the star of this project.
Once the painting is complete (and still wet), they can set their chameleon onto the background to see how they like it.
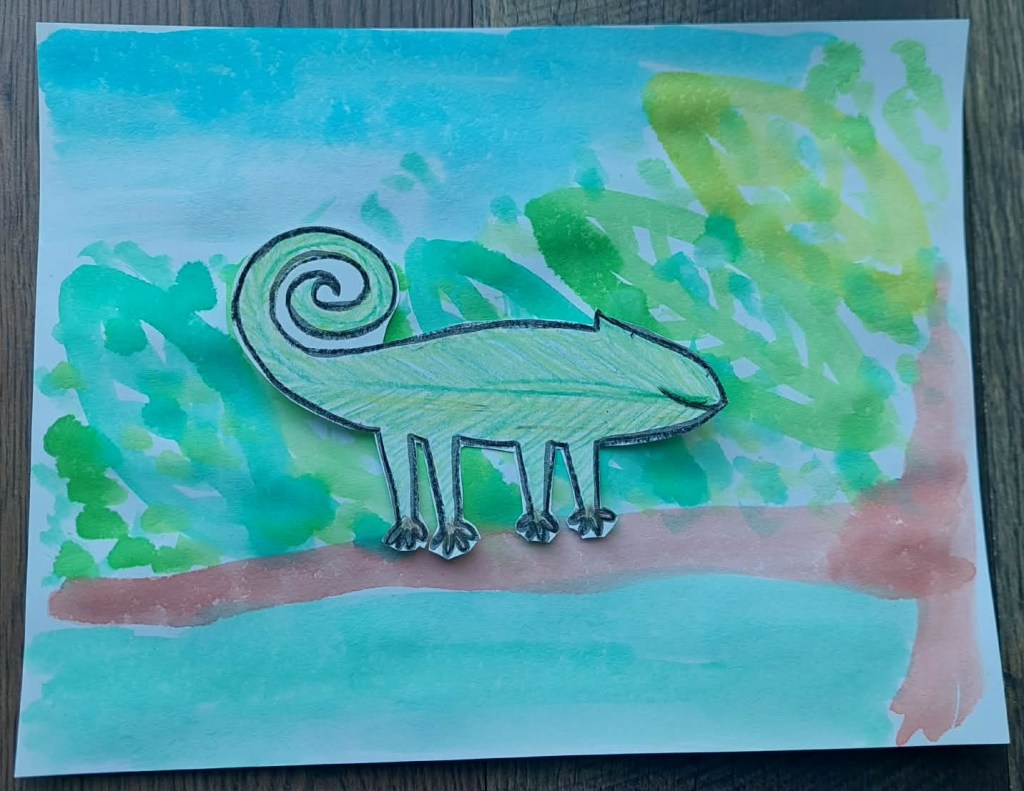
Now I’ll see how he looks with a googly eye! Scrape the top of a glue stick with the googly eye and stick onto the chameleon.
I love googly eyes!
If their papers are dry enough to glue stick the chameleon down, they can glue him down. If the papers are too wet, please make sure their name is written on the back of the paper and the chameleon. We can glue them together another week.
Papers can dry along the wall under the marker board and my daughter will bring them home to me.
Thank you so much for covering this project for me!